Chapter 5: Gazebo Simulation Fundamentals
Chapter 5: Gazebo Simulation Fundamentals
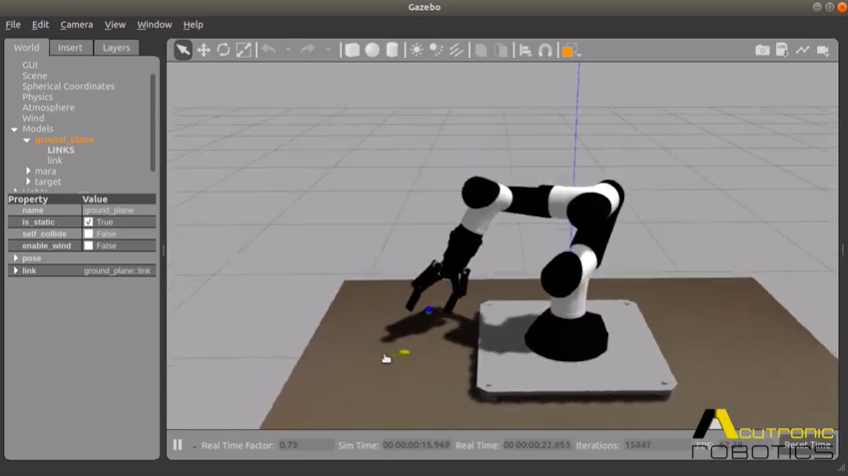
Objective: Simulate a robot in a virtual environment with realistic physics, sensors, and ROS 2 integration.
5.1 Gazebo vs. RViz: What's the Difference?
A common point of confusion for newcomers is the difference between Gazebo and RViz. Although they both show you a 3D representation of your robot, their purposes are fundamentally different.
- RViz is a 3D Visualizer: Its job is to visualize data from a running ROS system. It subscribes to ROS topics and displays sensor data (like camera images and LiDAR scans), robot models, planned paths, and coordinate frames (
tf2). It has no concept of physics, collision, or simulation time. It is a window into the "mind" of the robot. - Gazebo is a 3D Simulator: Its job is to create data by simulating a robot in a world with realistic physics. Gazebo runs a physics engine, simulates sensor output based on the virtual environment, and can simulate actuator behavior. It is a virtual "reality" for the robot to live in.
The two tools are often used together: Gazebo simulates the robot and the world, publishing sensor data to ROS topics. RViz subscribes to those topics to let you visualize what the robot is "seeing" and "thinking" in its simulated world.
5.2 SDF: The Language of Gazebo
While ROS uses URDF to describe the robot's kinematics, Gazebo uses its own native format: the Simulation Description Format (SDF). SDF is an XML format designed to describe every aspect of a simulation, from robots and sensors to the environment itself.
While you can (and often do) spawn a URDF model directly into Gazebo, the ROS tools convert it to SDF under the hood. For advanced simulation, it's useful to understand SDF's capabilities, which extend beyond URDF's scope:
- Worlds: SDF can describe the entire world, including lighting, gravity, and static objects.
- Physics: It allows for detailed specification of friction, damping, and other physical properties.
- Sensors: It has rich tags for defining and parameterizing sensors.
- Plugins: It is the standard way to attach plugins to simulated objects.
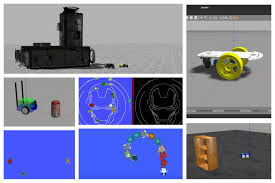
A Gazebo simulation is defined by a world file (.world), which is written in SDF. It includes everything from the ground plane and sun to complex models and plugins. You can find many pre-built worlds and models (like tables, bookshelves, and entire buildings) in the Gazebo Fuel online database, which you can include in your world file with a simple <include> tag.
5.3 Gazebo Plugins: The Bridge to ROS 2
By itself, Gazebo is just a physics simulator. The magic happens when you connect it to ROS 2 using Gazebo-ROS Plugins. A plugin is a compiled piece of code (a shared library, .so file) that you can attach to a model or sensor within your SDF/URDF file. These plugins act as the bridge between the simulation and the ROS 2 graph.
How Plugins Work
When Gazebo loads your robot model, it also loads the specified plugins. A ROS-enabled plugin will typically:
- Initialize itself as a ROS 2 node within the Gazebo process.
- Create ROS 2 publishers, subscribers, services, or actions.
- Connect to Gazebo's internal simulation data streams.
- Continuously translate data between Gazebo and ROS 2.
Common Plugin Types and Examples
1. Sensor Plugins (e.g., Cameras, LiDAR) A sensor plugin simulates sensor behavior and publishes the resulting data to a ROS 2 topic.
Let's look at a camera plugin attached to a link in a URDF file. The <gazebo> tag is ignored by ROS tools like RViz, but read by Gazebo.
<link name="camera_link">
  <!-- ... visual, collision, inertial tags ... -->
</link>

<joint name="camera_joint" type="fixed">
  <parent link="base_link"/>
  <child link="camera_link"/>
  <origin xyz="0.1 0 0.2" rpy="0 0 0"/>
</joint>

<!-- Attach the camera plugin to the camera_link -->
<gazebo reference="camera_link">
  <sensor type="camera" name="my_camera_sensor">
    <update_rate>30.0</update_rate>
    <camera>
      <!-- ... camera lens and image properties ... -->
    </camera>
    <plugin name="camera_controller" filename="libgazebo_ros_camera.so">
      <ros>
        <!-- Remap the default topic from /camera/image_raw to /my_camera/image_raw -->
        <remapping>image_raw:=/my_camera/image_raw</remapping>
        <remapping>camera_info:=/my_camera/camera_info</remapping>
      </ros>
      <camera_name>my_camera</camera_name>
    </plugin>
  </sensor>
</gazebo>
When this model is loaded, the libgazebo_ros_camera.so plugin will:
- Simulate a camera attached to
camera_link. - Render images of the virtual world at 30 frames per second.
- Publish these images to the
/my_camera/image_rawROS 2 topic.
2. Model Plugins (e.g., Drivetrain Controllers) A model plugin can be used to control the robot's motion. The differential drive plugin is a classic example.
<!-- In the main <robot> tag of the URDF -->
<gazebo>
  <plugin name="differential_drive_controller" filename="libgazebo_ros_diff_drive.so">
    <ros>
      <namespace>/</namespace>
    </ros>

    <!-- This plugin requires specification of the wheel joints -->
    <left_joint>left_wheel_joint</left_joint>
    <right_joint>right_wheel_joint</right_joint>

    <!-- Kinematic properties -->
    <wheel_separation>0.4</wheel_separation>
    <wheel_diameter>0.2</wheel_diameter>

    <!-- It will listen for Twist messages on this topic -->
    <command_topic>cmd_vel</command_topic>

    <!-- It will publish odometry on this topic -->
    <odometry_topic>odom</odometry_topic>
    <odometry_frame>odom</odometry_frame>
    <robot_base_frame>base_link</robot_base_frame>
  </plugin>
</gazebo>
This plugin will:
- Subscribe to the
/cmd_velROS 2 topic forgeometry_msgs/msg/Twistmessages. - Convert the linear and angular velocities from the message into left and right wheel rotation speeds.
- Apply forces to the
left_wheel_jointandright_wheel_jointin the simulation to make the robot move. - Simulate wheel encoder readings and publish the resulting odometry to the
/odomtopic.
5.4 A Complete Workflow
Putting it all together, a typical workflow for simulating a robot involves a launch file that orchestrates multiple actions:
- Start Gazebo: Launch the Gazebo server and GUI client, loading a specific
.worldfile. - Process URDF: Read your robot's
.urdf.xacrofile and convert it into an XML string. - Spawn Robot: Use the
spawn_entity.pyscript (as aNodein the launch file) to add your robot model to the running simulation. - Start State Publisher: Launch a
robot_state_publishernode to broadcast the robot'stf2frames based on joint states published by a Gazebo plugin.
This setup creates a complete digital twin: the robot exists in Gazebo, its sensors produce data onto ROS 2 topics, and its motors are controlled by ROS 2 topics, just like a real robot.